
Rock Reinforcement Load Capacity Explained: What to Check in Design and Site Testing





Rock reinforcement rarely fails because of one obvious mistake. More often, failure begins with a gap between design assumptions and field reality. That is why rock reinforcement load capacity matters so much in tunnels, mines, shafts, and trenchless works where support performance must be verified, not assumed.
In underground construction, the question is not only how strong a bolt or anchor looks on paper. The real issue is whether the full support system can carry load under fractured rock, variable installation quality, water, vibration, and changing stress conditions.
Across the sectors tracked by UTMD, from TBM drives to drill-and-blast headings and pipe jacking access structures, rock reinforcement load capacity has become a practical control point for safety, compliance, and asset reliability. It sits at the intersection of design discipline, installation control, and site testing.
Why load capacity deserves closer attention underground
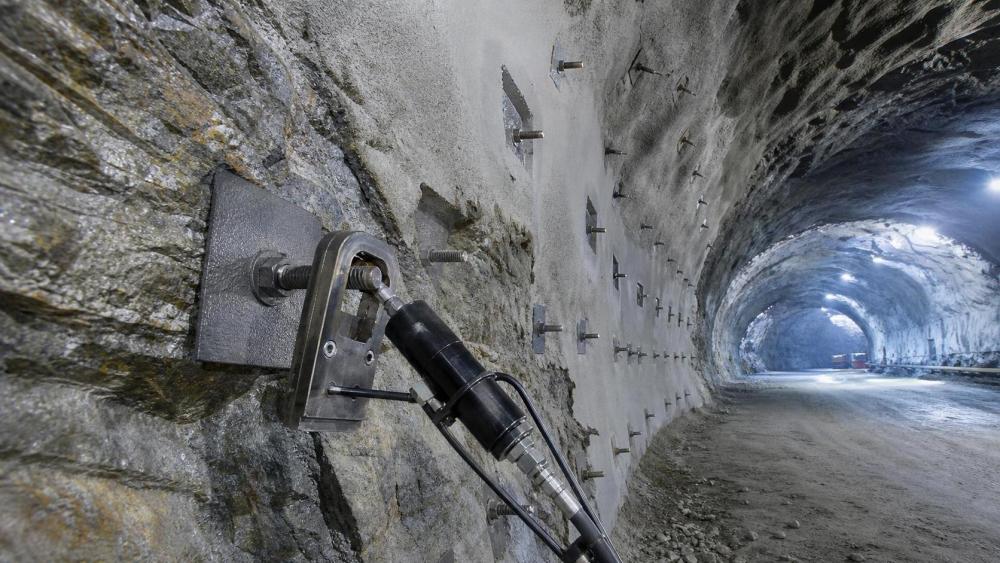
The underground industry is moving toward deeper excavations, harder rock, longer drives, and more automated operations. Support systems now work inside tighter production windows and under stricter scrutiny from project owners, regulators, and internal assurance teams.
A support element may show high laboratory strength, yet still underperform in the rock mass. Resin mixing may be incomplete. Boreholes may be oversized. Plates may not seat properly. Jointed ground may transfer load unevenly.
For that reason, rock reinforcement load capacity should be understood as a system outcome. It depends on the bolt or cable, the grout or resin, the borehole condition, the rock itself, and the way load is mobilized after excavation.
This is especially relevant where UTMD monitors equipment-intensive development, including jumbo drilling for bolt installation, TBM backup support operations, and high-output mining headings where support cycles must remain fast without losing verification quality.
What rock reinforcement load capacity really means
In simple terms, rock reinforcement load capacity is the maximum load a reinforcement element, or a support assembly, can sustain before unacceptable deformation, bond failure, yielding, pull-out, or rupture occurs.
That definition sounds straightforward, but the engineering meaning is broader. Capacity can refer to steel tensile strength, anchorage bond strength, plate-bearing performance, or the combined ability of the installed system to stabilize the excavation boundary.
A design may specify one value, while site testing may reveal another controlling limit. Sometimes the bar remains intact but the grout-rock interface fails first. In other cases, the support survives the test load but shows displacement that is too large for the ground condition.
That is why load capacity should never be read as a single catalog number. It must be interpreted together with stiffness, deformation tolerance, embedment length, corrosion allowance, installation method, and expected ground movement.
What must be checked in design
Design review should start with the rock mass, not the support product. The expected loading path comes from geology, excavation sequence, stress redistribution, discontinuity orientation, water inflow, and the likely failure mechanism.
If wedge failure is dominant, anchorage pattern and orientation become critical. If squeezing or burst-prone ground is expected, ductility and energy absorption may matter as much as nominal rock reinforcement load capacity.
Key design checkpoints
- Match support type to failure mode rather than using one standard detail everywhere.
- Confirm bolt length reaches stable rock beyond the likely failure zone.
- Check bond length assumptions against actual borehole diameter and installation method.
- Review plate, mesh, strap, and shotcrete interaction where surface support shares load.
- Apply suitable safety factors for uncertainty in rock quality and workmanship.
- Verify corrosion, fatigue, and long-term creep requirements for the support life.
A good design also distinguishes between static and dynamic demand. In deep mining or high-stress tunnels, a reinforcement system may need to absorb sudden energy release, not just carry a slowly increasing service load.
Where mechanized excavation is involved, support timing matters too. TBM and mining cycles can change how quickly load reaches the reinforcement. Delays between excavation and installation can reduce the margin that the design assumed.
Design review table
What site testing should confirm
Field verification is where assumptions meet reality. Site testing should confirm not only whether the reinforcement reaches the required load, but also how it behaves while approaching that load.
Pull testing is common, yet it should not be treated as a box-ticking exercise. Load-displacement response, seating effects, residual movement, and the observed failure mode often provide more insight than the peak number alone.
Practical testing points
- Use calibrated jacks, gauges, and reaction frames suitable for the expected range.
- Record borehole details, installation time, curing period, and ground condition for every tested element.
- Increase load in controlled stages and capture displacement at each increment.
- Separate plate seating movement from true anchor extension where possible.
- Note whether failure occurs in steel, resin, grout, rock, or at the interface.
- Trend results by heading, crew, shift, and geology rather than reviewing tests in isolation.
Proof tests and destructive tests serve different purposes. Proof testing checks whether routine installation meets acceptance criteria. Destructive testing helps define the actual upper limit of rock reinforcement load capacity and the governing failure mechanism.
In many underground projects, the most useful result is not a pass or fail label. It is the pattern showing where performance drops when hole deviation, water ingress, fractured collars, or rushed installation become more common.
Frequent gaps between design intent and field performance
Several recurring issues can reduce effective rock reinforcement load capacity even when approved materials are used. These gaps usually come from process variation rather than dramatic material defects.
- Boreholes are longer, wider, or more irregular than the design assumed.
- Resin cartridges do not fully mix because rotation time is too short.
- Grout segregation occurs in wet or upward holes.
- Installation starts before ground scaling is complete, affecting plate contact.
- Testing frequency is too low to capture geological transitions.
- Acceptance criteria focus on peak load but ignore excessive displacement.
From a control perspective, these are valuable warning signs. They show that support capacity should be monitored as part of a process chain, linked to drilling accuracy, consumable handling, installation sequence, and ground observation.
This is where the UTMD viewpoint is useful. Underground productivity is increasingly tied to digital tracking, equipment data, and disciplined verification. The same intelligence mindset used for TBM wear, autonomous haulage, or jumbo performance also strengthens reinforcement quality control.
How to use the data in day-to-day decisions
Load capacity data becomes more valuable when it is connected to decisions. A single test certificate has limited meaning if it is not compared with geology, excavation rate, support timing, and nonconformance records.
A practical review usually asks five questions. Is the installed support reaching the required rock reinforcement load capacity? Is the displacement acceptable? Is the result repeatable? Has the ground changed? Does the trend require design or process adjustment?
Where results begin to drift, response should be structured. Recheck drilling tolerances. Review resin or grout storage. Confirm curing time. Increase test density in suspect zones. If needed, revisit bolt length, spacing, or support class selection.
The strongest programs treat testing records as live operational intelligence. That approach supports safer headings, cleaner audits, and better confidence when advancing into new ground or deeper stress regimes.
A practical next step for better verification
If rock reinforcement load capacity is being reviewed only after a failed test, the control loop is already late. A better next step is to build a simple verification matrix that links design assumptions, installation variables, test frequency, and acceptance limits.
That matrix should be updated whenever the excavation method changes, new ground classes appear, or support products are substituted. It should also capture whether the controlling risk is pull-out, rupture, excessive movement, or loss of surface confinement.
For underground projects shaped by higher automation and tighter reliability demands, the most dependable answer is not a generic capacity figure. It is a documented, site-specific understanding of how the reinforcement system performs in the actual rock mass.
That is the point where design review, site testing, and operational intelligence begin to work together. Once those links are clear, decisions on support selection, testing scope, and risk control become far more defensible.
Related News
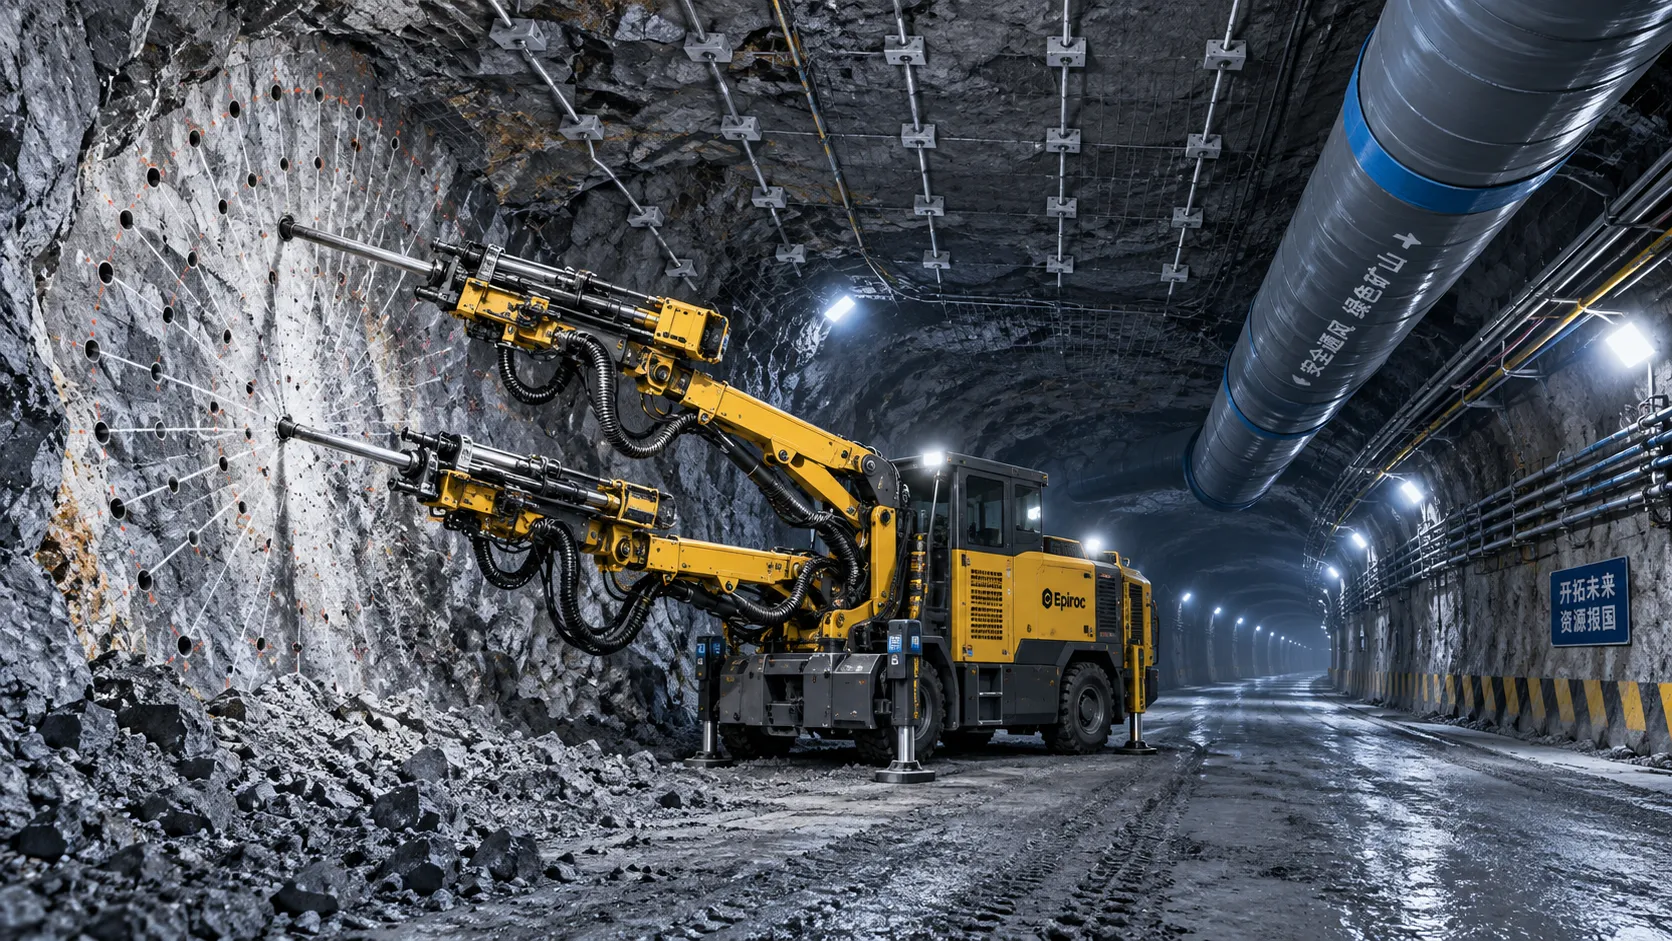
Underground Drilling for Mining: Selecting Methods for Rock Conditions and Mine Layout
Underground drilling for mining: learn how to match drilling methods to rock conditions, mine layout, accuracy needs, ground support, and cycle efficiency.
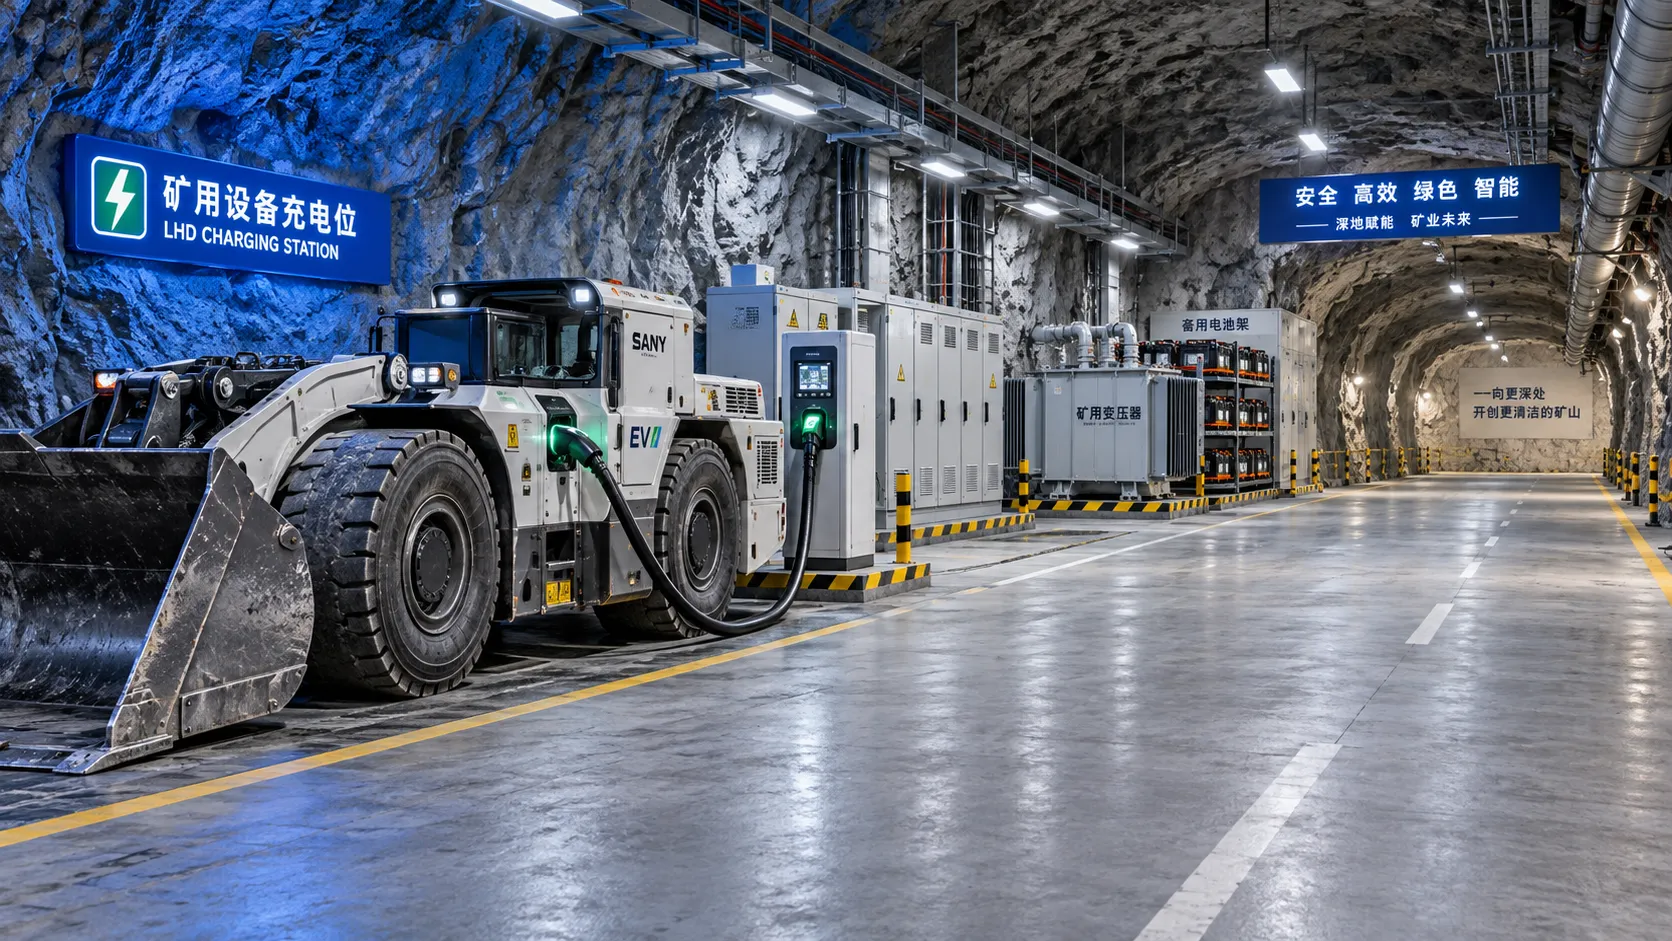
Underground Mine Electrification: How to Size Battery Fleets and Charging Capacity
Mining electrification for underground mines: learn how to size battery fleets, chargers, and power capacity to prevent queues, peak-load issues, and production downtime.
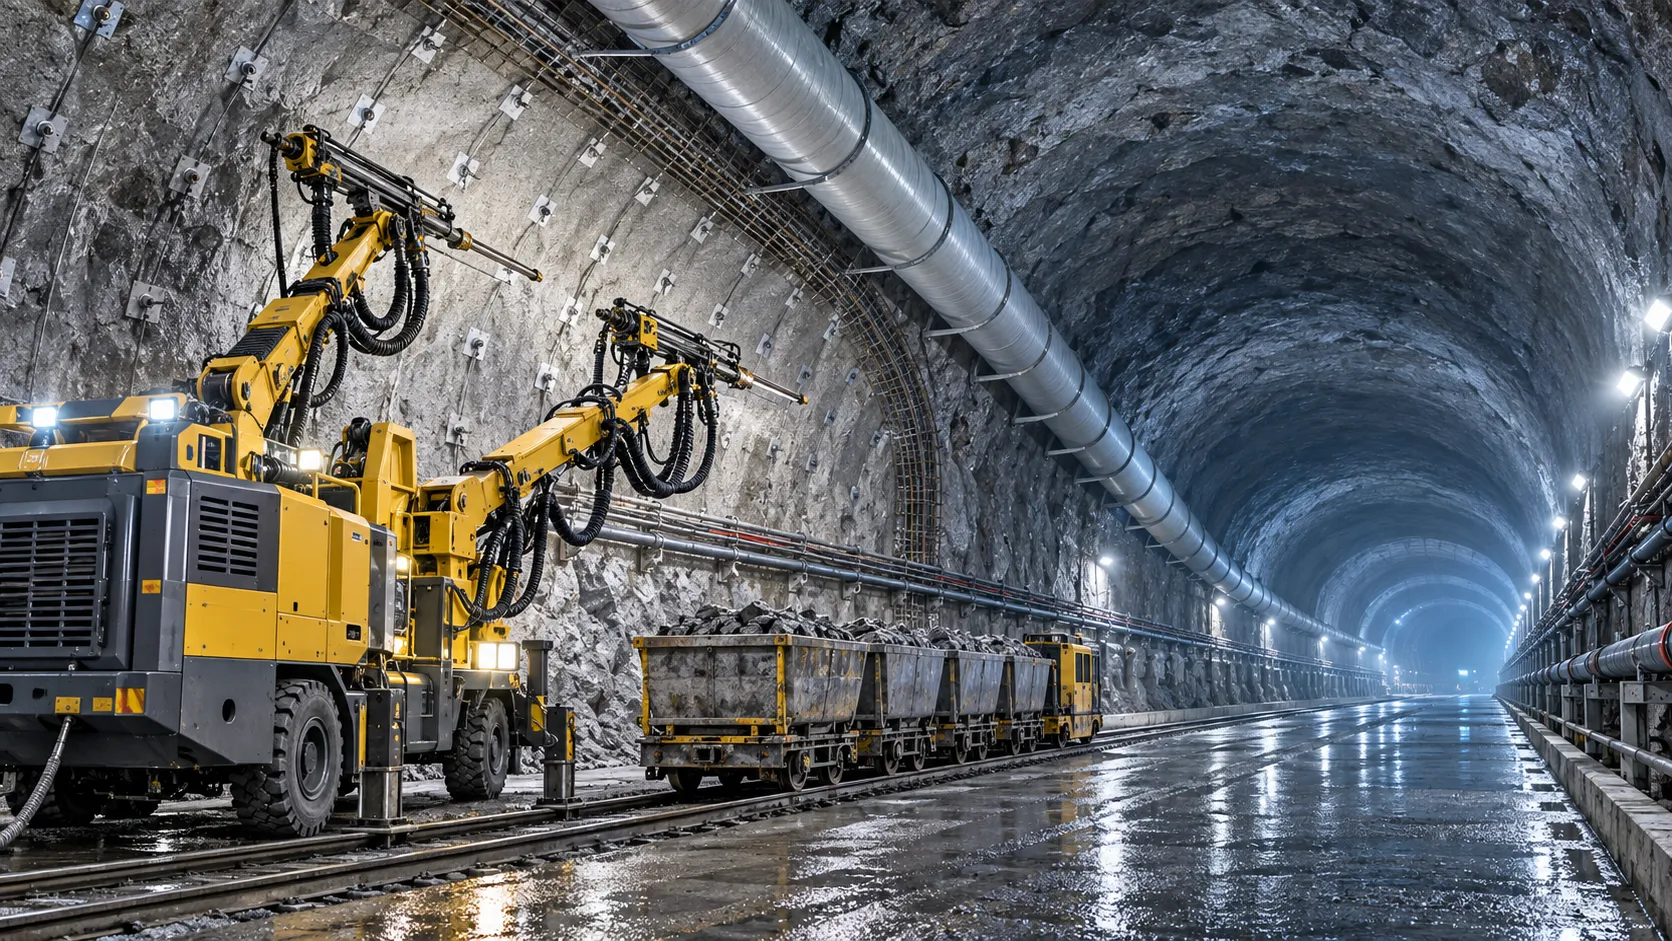
How to Evaluate European Drill-and-Blast Tunnelling Contractors for Complex Projects
Drill and blast tunnelling contractors Europe: learn how to assess geology expertise, blast control, equipment reliability, safety, and programme resilience for complex projects.
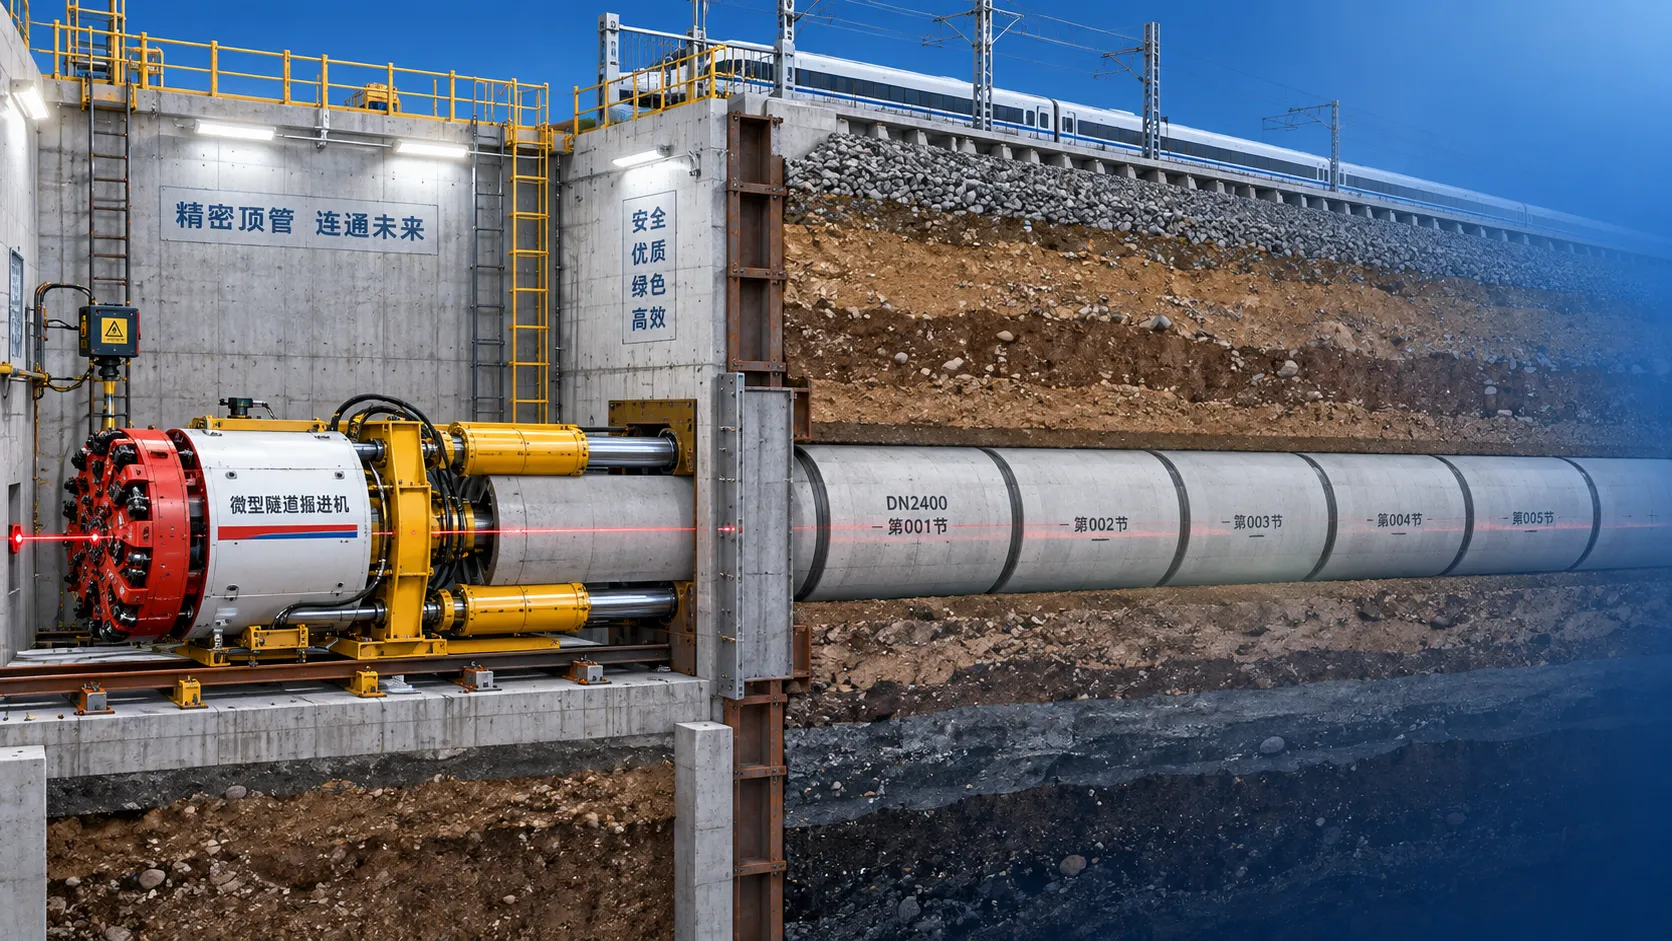
Which Trenchless Construction Technique Fits Your Utility Crossing Conditions?
Trenchless construction techniques compared for utility crossings: choose HDD, microtunnelling, pipe jacking, or auger boring based on ground, accuracy, access, and risk.
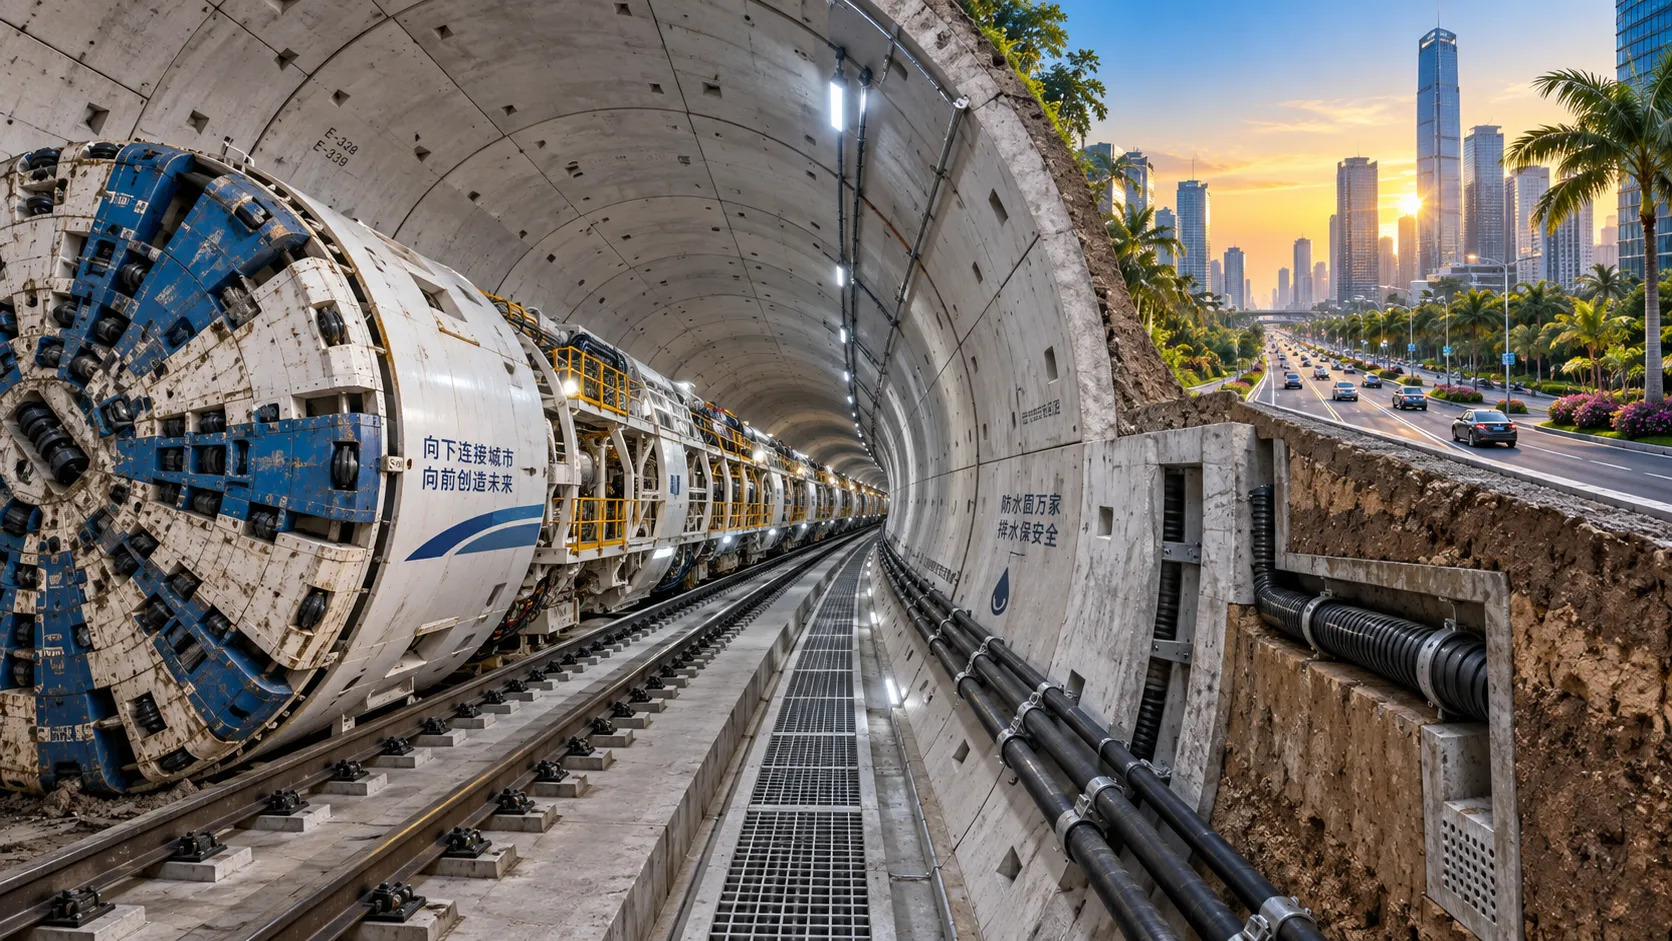
What Is Driving Metro Tunnelling Demand Across Southeast Asia’s Major Cities?
Metro tunnelling Southeast Asia is accelerating as major cities tackle congestion, flooding, and connectivity. Explore the market forces, technical risks, and opportunities shaping demand.
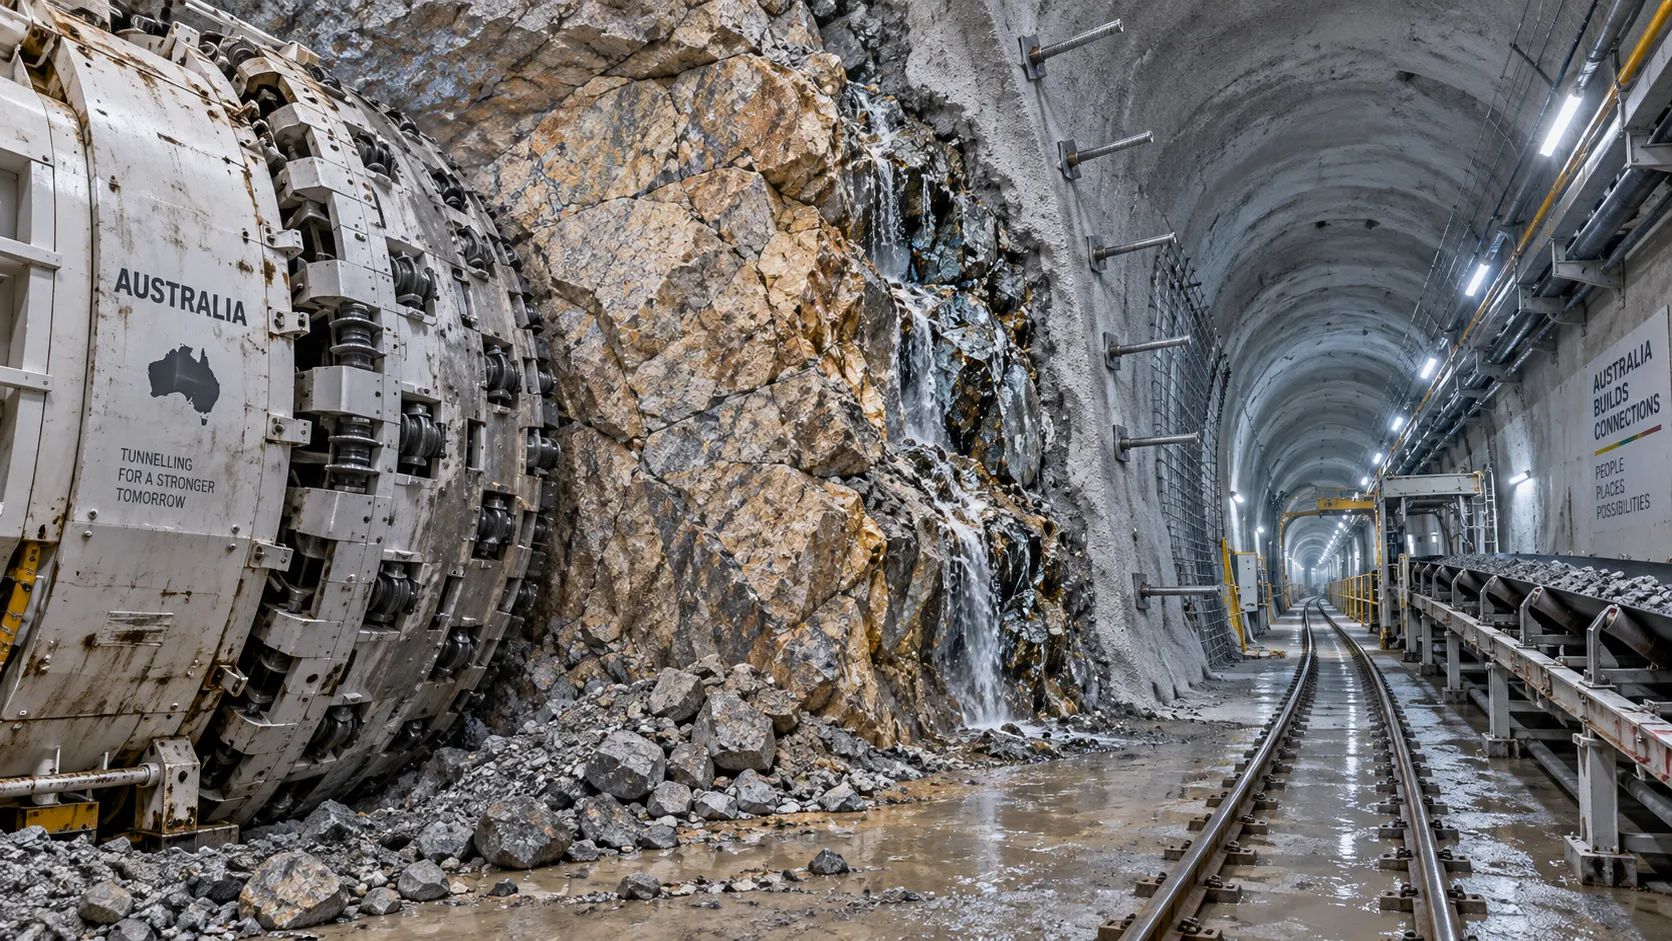
Hard Rock Tunnelling in Australia: Selecting Methods for Variable Ground Conditions
Hard rock tunnelling in Australia: compare TBM, drill-and-blast and hybrid methods to manage variable ground, reduce risk and protect project costs.
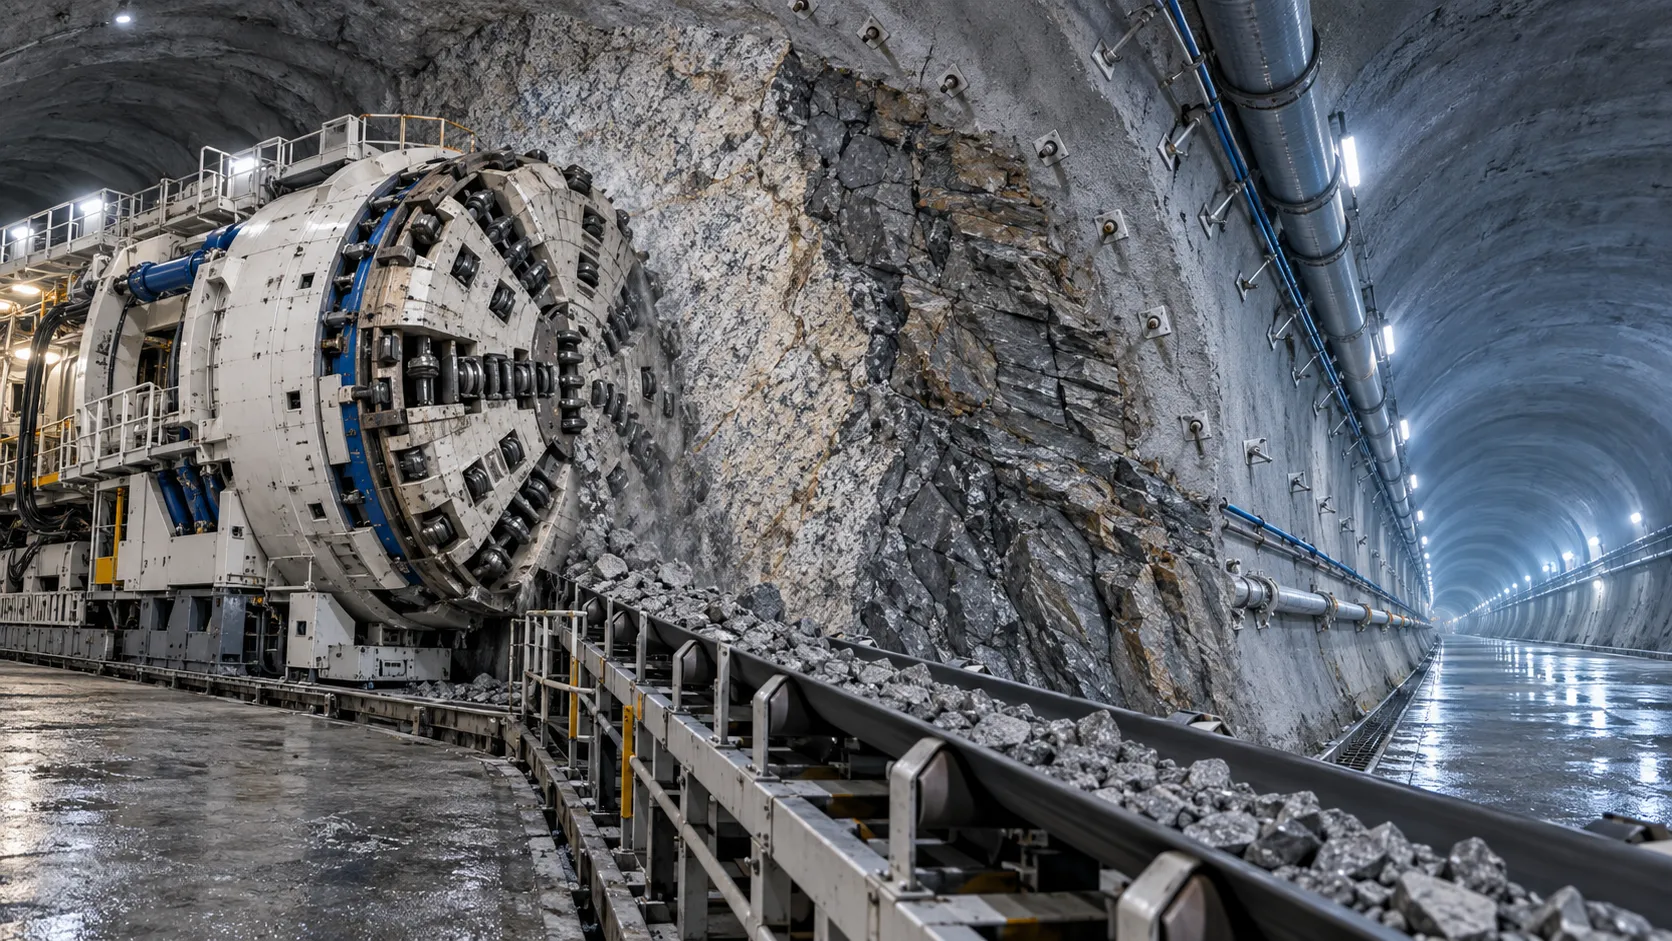
Hydropower Tunnel Excavation: Selecting Methods for Variable Rock Conditions
Hydropower tunnel excavation methods for variable rock conditions: compare TBM, drill-and-blast, and hybrid strategies to improve safety, progress, and project control.
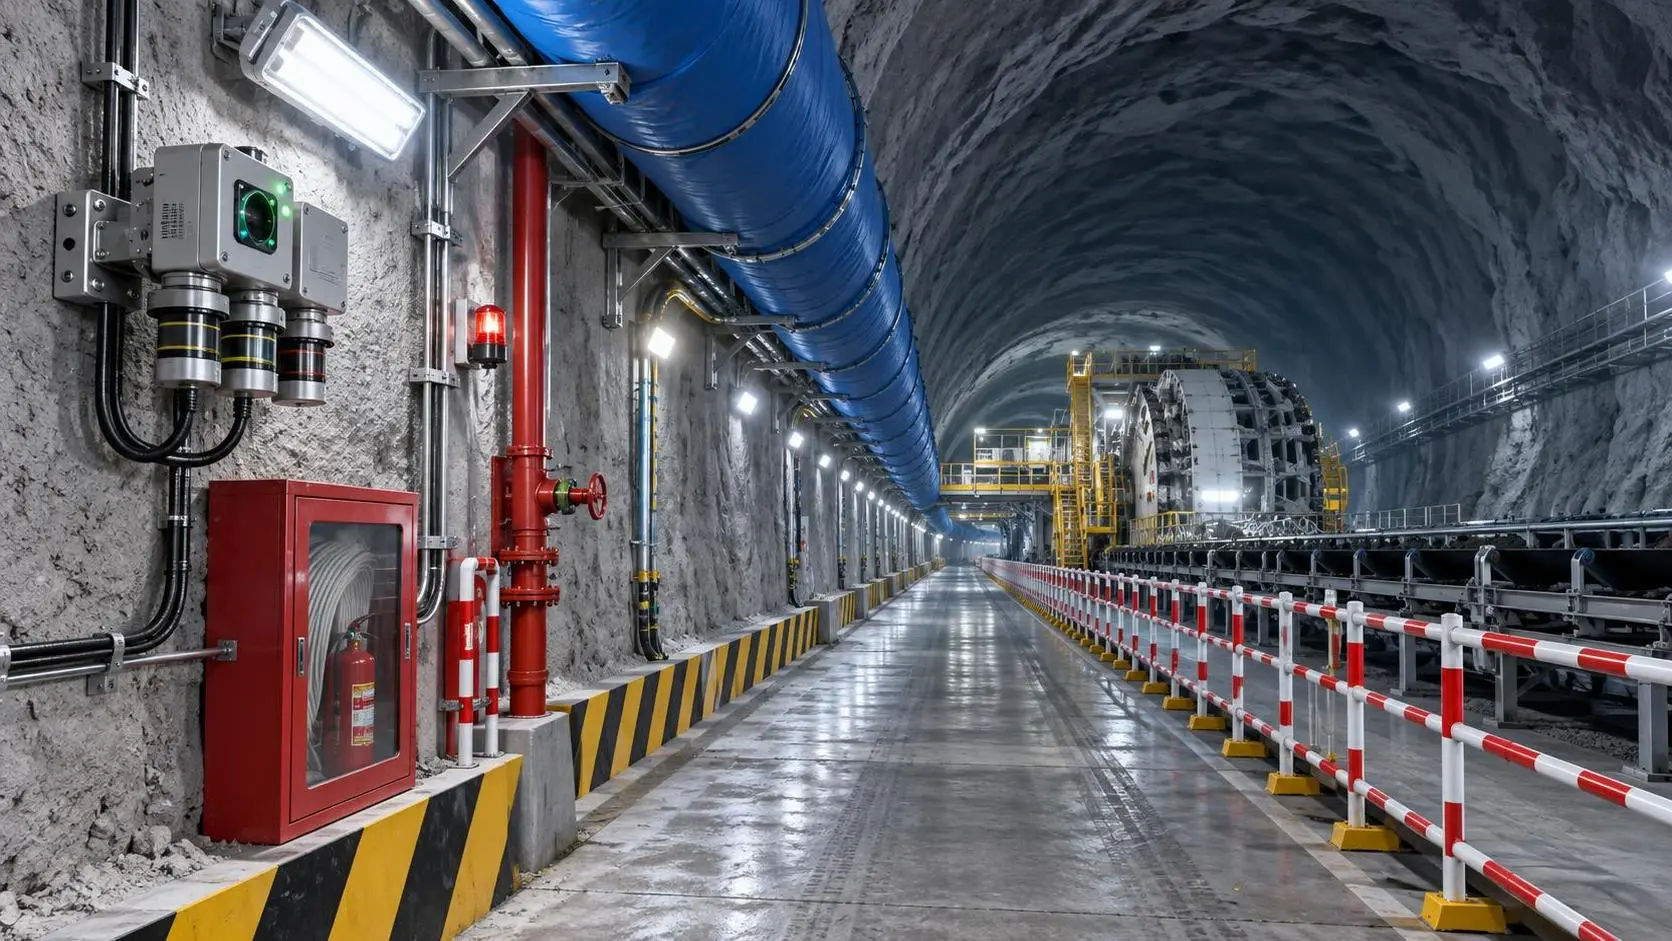
How to Select Underground Safety Equipment for Tunnelling by Hazard and Work Zone
Underground Safety Equipment for tunnelling: match protection to hazards, work zones, compliance, and emergency needs with this practical selection guide.
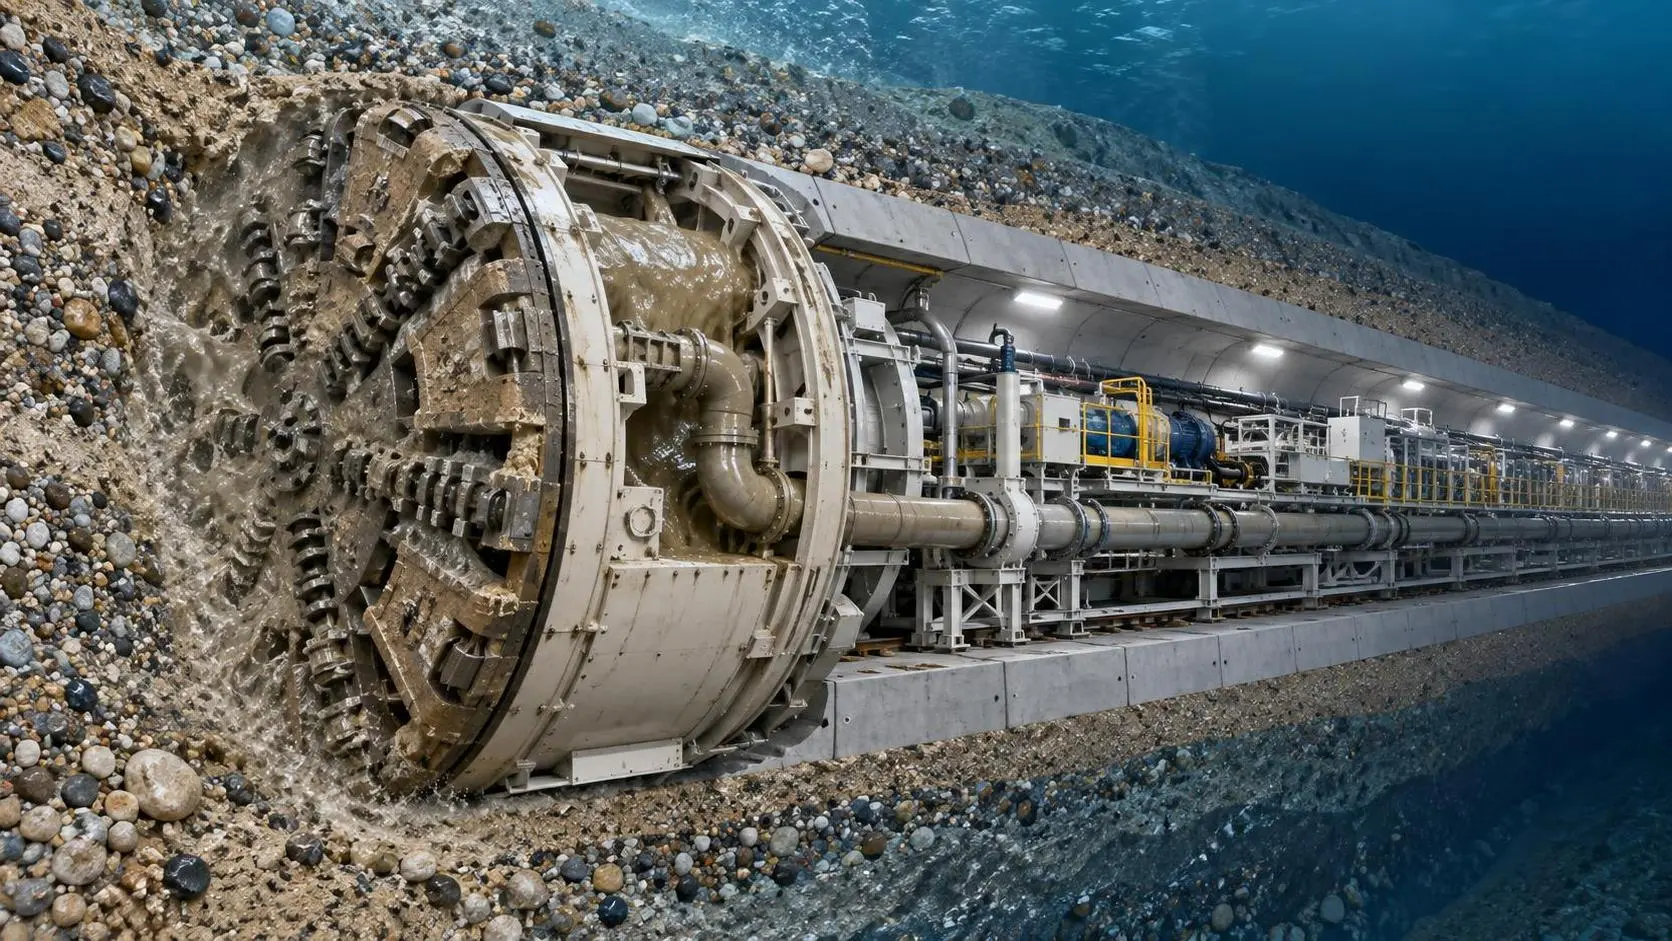
EPB or Slurry Shield? Selecting Soft-Ground Tunnelling Equipment by Soil Conditions
Tunnel Excavation Equipment for soft ground: compare EPB and slurry shields by soil, groundwater, settlement risk, and project logistics to choose confidently.
Related News
- 00
0000-00
Underground Drilling for Mining: Selecting Methods for Rock Conditions and Mine Layout - 00
0000-00
Underground Mine Electrification: How to Size Battery Fleets and Charging Capacity - 00
0000-00
How to Evaluate European Drill-and-Blast Tunnelling Contractors for Complex Projects - 00
0000-00
Which Trenchless Construction Technique Fits Your Utility Crossing Conditions? - 00
0000-00
What Is Driving Metro Tunnelling Demand Across Southeast Asia’s Major Cities?
Weekly Insights
Stay ahead with our curated technology reports delivered every Monday.