
When a mining truck insulated exhaust needs inspection after heat damage





A mining truck insulated exhaust needs inspection immediately after any event that could have raised exhaust-surface temperatures beyond their normal operating pattern. That includes an engine overheat, a stalled cooling fan, a damaged diesel particulate filter or oxidation catalyst, an exhaust leak, a regeneration fault, a fire near the powertrain, contact with accumulated debris, or prolonged high-load operation followed by poor airflow. Waiting for the next planned service can turn a local heat incident into a damaged harness, softened hydraulic hose, failed sensor lead, or recurring exhaust fault.
The insulation itself is not the only concern. An insulated exhaust assembly manages radiant heat, protects nearby components, controls surface temperature, and supports the routing intended by the truck manufacturer. When its layers, shields, clamps, or mounting points change condition, the apparent problem may be small while the heat path around the engine bay has changed substantially.
Situations that require an immediate inspection
Inspection should be triggered when a heat event is known, but it should also be triggered when the truck shows indirect evidence of one. A dashboard temperature alarm is only one signal. A machine that completed an interrupted regeneration cycle, lost engine power under load, produced an unusual exhaust odor, or developed a hot-metal smell after shutdown deserves attention even if no alarm remained active.
Take the truck out of service for inspection when insulation is smoking, glowing, charred, missing, hanging loose, or contaminated with oil, fuel, grease, hydraulic fluid, or polymer debris. Organic contamination changes the hazard from heat exposure to potential ignition. Cleaning alone is not enough until the source of the contamination has been located and repaired.
A close inspection is also appropriate after a collision, rock strike, belly impact, or repair work around the turbocharger, exhaust aftertreatment, and stack. Physical impact can flatten insulated sections or displace a heat shield without visibly puncturing the outer jacket. A crushed section often loses its air gap or fiber structure, allowing heat to transfer more directly toward adjacent equipment.
Do not rely solely on engine coolant temperature to decide whether the exhaust system was overheated. Coolant temperature describes one part of the thermal system. Exhaust gas temperature can rise rapidly because of restricted flow, incorrect fueling, a failed sensor, prolonged regeneration, or a fault in the aftertreatment system. The insulation may have experienced damaging exposure while coolant readings remained within a familiar range.
Start with a controlled, cold-condition examination
Allow the exhaust system to cool according to site isolation requirements before touching insulation, shields, or clamps. Heat damage is easier to identify when the assembly is clean enough to show surface changes, but aggressive washing can destroy evidence. First record the location of soot, staining, melted material, displaced debris, and fluid residue. These patterns often point to the initiating fault.
Examine the insulated exhaust from the turbocharger outlet through the aftertreatment assembly, flex sections, transition pipes, elbows, and vertical discharge path. Follow the route rather than focusing only on the visibly hottest component. Heat migrates through metal brackets, leaks through damaged seams, and reflects from shielding into nearby areas.
- Outer jacket condition: Look for discoloration, brittleness, torn woven coverings, opened seams, punctures, and areas that have become stiff or powdery. A darkened jacket is not automatically unserviceable, but a change in texture, loss of weave integrity, or exposed insulation requires closer evaluation.
- Insulation core: Where the construction permits examination, identify compression, missing material, oil saturation, moisture retention, or loose fiber. Insulation that has been crushed around a bend or clamp can no longer provide the same thermal barrier as an intact section.
- Metal shields and reflective layers: Warping, blueing, cracking at formed edges, loose rivets, and heat-distorted standoffs are useful evidence. A shield can remain attached while sitting closer to the exhaust pipe than designed.
- Retention hardware: Check straps, spring clips, band clamps, bolts, brackets, and safety-wire arrangements where fitted. Heat cycles relax fasteners and alter clamp load; vibration then enlarges the movement quickly.
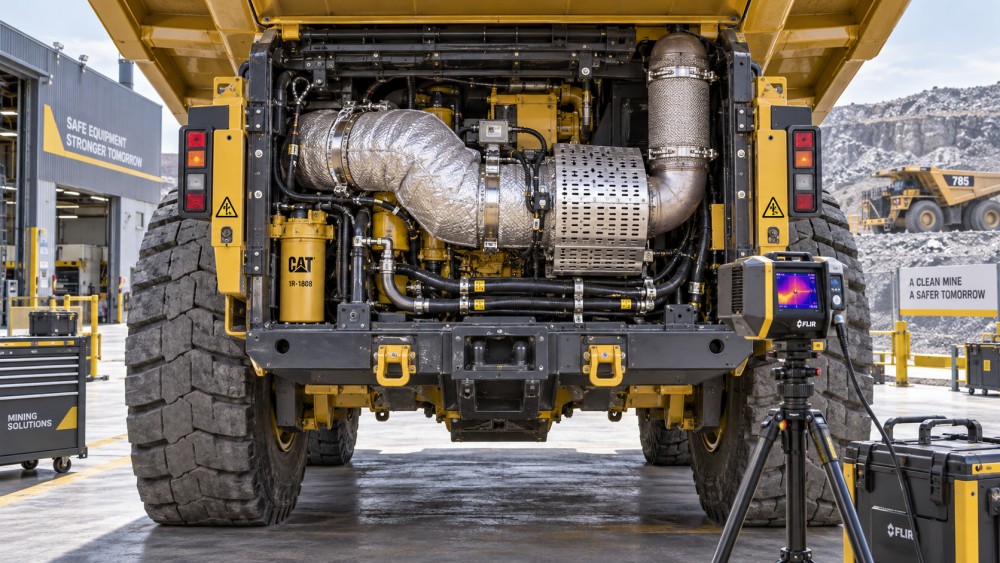
Photographs should include an overall route view and close views of the affected area before parts are removed. The purpose is not paperwork for its own sake. Once an insulation blanket or shield is removed, the original contact marks and debris pattern may no longer be available to distinguish an exhaust leak from external heat exposure.
Read the damage pattern before replacing parts
Soot is one of the most useful clues. Dry black soot concentrated at a flange, V-band connection, sensor boss, flex joint, or weld suggests exhaust leakage. It should not be treated as merely a cosmetic stain on the insulation. Escaping gas can cut or overheat the blanket locally and send a narrow jet of heat toward electrical connectors, hoses, or structural members. Replacing the insulation without correcting the leaking joint creates a short return-to-repair cycle.
Uniform browning over a broad area points to sustained radiant exposure or reduced airflow, especially around tightly packaged components. Localized scorching on one side of a blanket points more strongly to a leak, a displaced shield, a nearby hot surface, or an external flame. Melted plastic on a nearby harness is especially informative: its position can reveal the direction in which heat escaped, even after the exhaust surface has cooled.
Oil-wet insulation needs a separate judgment from dry, heat-aged insulation. Mineral oil and hydraulic fluid can wick into porous material beyond the obvious stain. A blanket that appears intact but retains fluid may smoke during the next high-load cycle and can deteriorate rapidly. Identify whether the fluid came from a turbo oil feed or drain, valve-cover seepage, hydraulic line, breather discharge, fuel connection, or maintenance spill. The repair scope must address both the contamination source and the material that absorbed it.
A silver or light-colored shield may show no dramatic discoloration despite losing its protective geometry. Measure or compare its clearance from the exhaust pipe at several points. A shield bent toward a pipe can transfer heat by conduction through its mounts, while a shield bent away can expose components previously protected from radiation. Both conditions create different failure paths, and neither is confirmed by appearance alone.
Nearby components determine the repair scope
The inspection boundary should extend beyond the insulated exhaust assembly. Inspect wiring looms, connector bodies, sensor leads, air lines, hydraulic hoses, fuel hoses, battery cables, body liners, guards, and sound-deadening materials that share the heat zone. Look for hardening, gloss change, blistering, flattened corrugated conduit, split cable ties, softened hose covers, or marks where a component has begun to rest against a shield.
Electrical damage can remain latent. Insulation may darken or harden without an immediate open circuit, then crack during vibration. Sensor wiring near aftertreatment components deserves particular care because high temperatures, sharp routing changes, and strain at connector backshells often occur together. Confirm that retained clips still support the harness and that repairs have not left it secured to an exhaust bracket or shield edge.
Hydraulic and fuel lines require evaluation for both external heat exposure and altered routing. A hose may be undamaged internally yet have a degraded outer cover that no longer tolerates its intended environment. Conversely, a line that was moved during prior service can sit within the exhaust heat envelope without any visible sign until the truck works at high load. Check its restraint, clearance at full suspension movement where relevant, and protection at abrasion points. Do not install a new blanket as a substitute for restoring the specified routing.
When replacement is justified
Replace insulated exhaust components when the covering is breached, insulation is exposed or missing, the core is compressed or saturated, stitching or closure hardware has failed, or the assembly can no longer be held in its intended position. Replace warped or cracked shields when their stand-off distance, mounting stiffness, or reflective coverage has been compromised. Reusing a heat-damaged component because it still covers the pipe can leave an uncontrolled hot spot at the next heavy-duty cycle.
Material selection matters during replacement. Exhaust insulation systems often combine high-temperature fiber insulation, woven outer layers, metallic foil, formed shields, stainless fasteners, and purpose-shaped seams. Substituting a generic wrap, adhesive-backed product, or unapproved fastener can change clearance, trap moisture, interfere with sensor access, or fail under vibration. The replacement should match the part's intended geometry, attachment method, and allowable contact points rather than merely fit around the pipe diameter.
Do not assume that a new insulated section will correct the underlying thermal load. If the event involved abnormal exhaust temperature, investigate the cause before the vehicle returns to sustained haul duty. Relevant evidence can include active and stored fault information, regeneration history where applicable, temperature sensor plausibility, exhaust restriction symptoms, turbocharger condition, fuel-system concerns, air-path faults, and cooling-system performance. The exact diagnostic path depends on the truck configuration, but a heat event without a cause is an unresolved condition.
Reassembly details that prevent repeat heat damage
Before fitting replacement insulation, clean the pipe and surrounding area enough to reveal cracks, poor welds, rubbing points, and previous contact marks. Do not conceal a damaged pipe under a new blanket. Check flanges, clamps, bellows, and support brackets for alignment before final tightening. An exhaust section forced into position can place a flex joint under preload, loosen a clamp through vibration, or pull a blanket against a guard.
Fit the insulation in the sequence intended for that assembly. Overlapping layers, closures, and shield interfaces are often directional because they manage debris entry, airflow, and access to clamps or sensors. Avoid pulling the blanket excessively tight. Tension can distort seams and compress the insulating core, while a loose fit can migrate into contact with hot piping or moving hardware. Retention points should secure the assembly without cutting into the jacket.
After reassembly, verify clearances with all guards and covers fitted. A clearance that appears adequate with an access panel removed may disappear when the panel is installed. Confirm that wiring and hose restraints are restored, that connector latches remain accessible where required, and that no sharp shield edge bears on a flexible line. Where site procedures permit, conduct a controlled run and inspect for exhaust leaks, abnormal odor, smoke, vibration, loose heat protection, and contact marks after cool-down.
Separate heat damage from normal aging
Some color change occurs over the service life of high-temperature materials. Normal aging tends to be gradual and broadly consistent with the surrounding thermal zone. Heat damage usually brings a sharper boundary: a burned patch, brittle edge, melted nearby polymer, loosened stitch line, distorted shield, or soot path. The distinction matters because normal aging may support planned replacement, while a heat-damage pattern calls for fault investigation and inspection beyond the exhaust assembly.
A repair record should state the observed condition, the likely heat source, affected adjacent parts, components replaced, and the verification performed after assembly. That level of detail makes later inspections more useful. When a similar symptom returns, the record can show whether the issue originated from leakage, contamination, poor routing, abnormal exhaust temperature, or a mounting condition that was not fully corrected the first time.
Return the truck to service only after the insulated exhaust route, shielding, fasteners, and surrounding components are restored to a stable condition, and the event that created the excessive heat has been addressed. A clean-looking blanket is not the release criterion; controlled heat containment is.
Related News
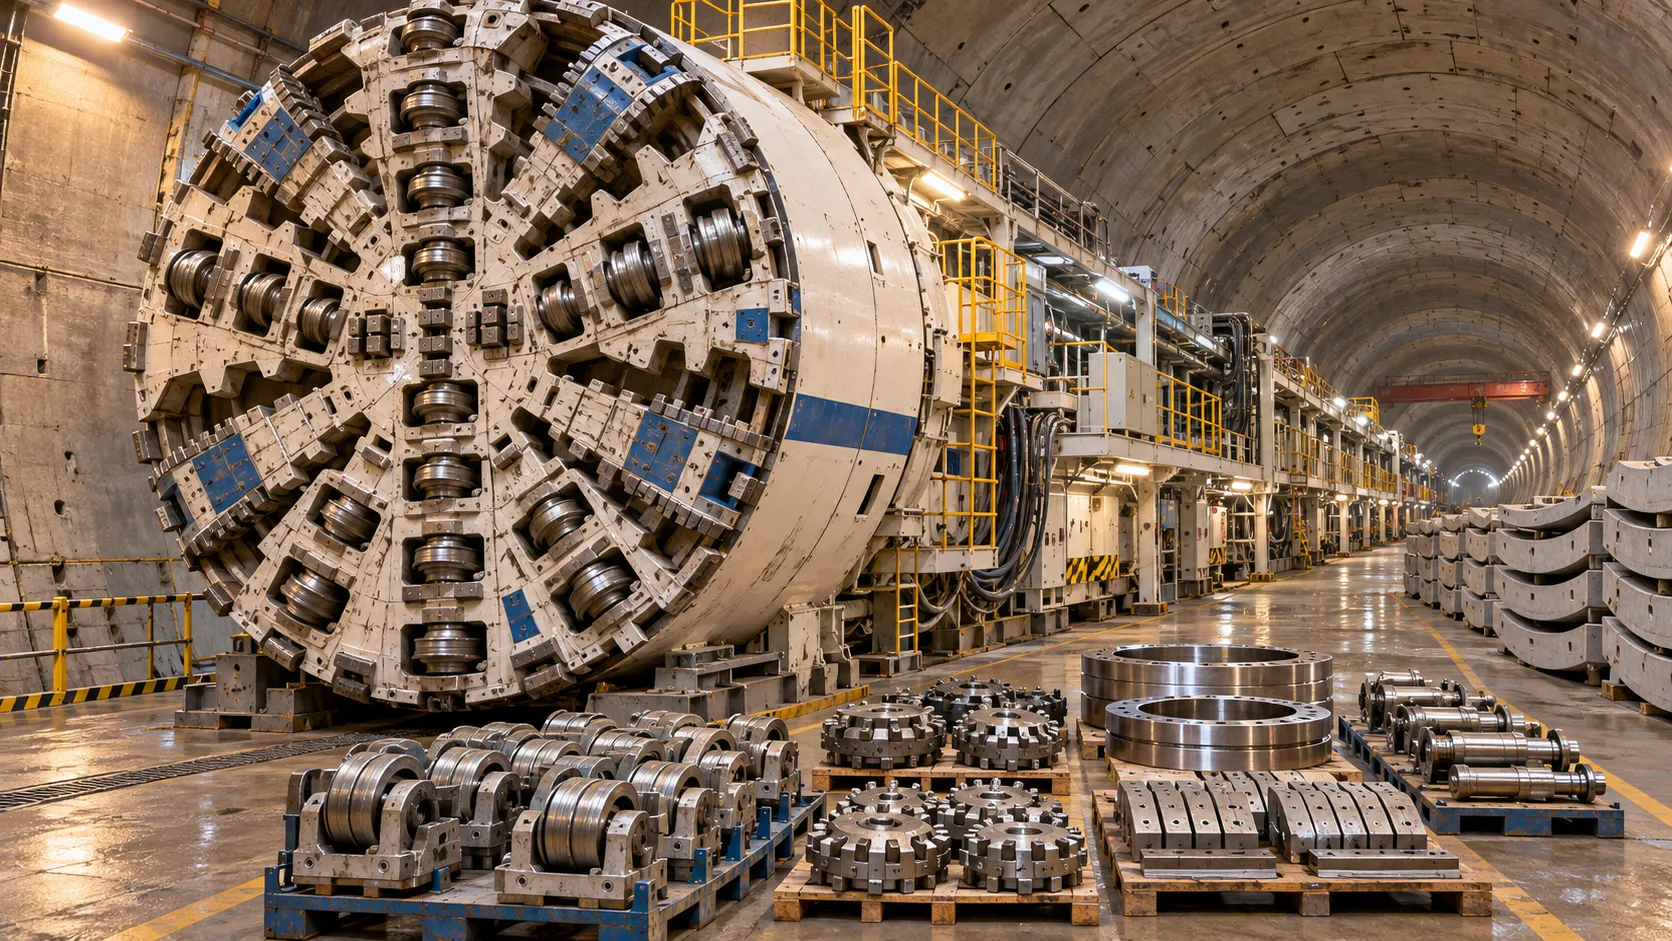
China's TBM Export Controls Prompt Infrastructure Concerns in India
China's TBM export controls could affect infrastructure projects in India. Explore potential supply risks and practical procurement steps.
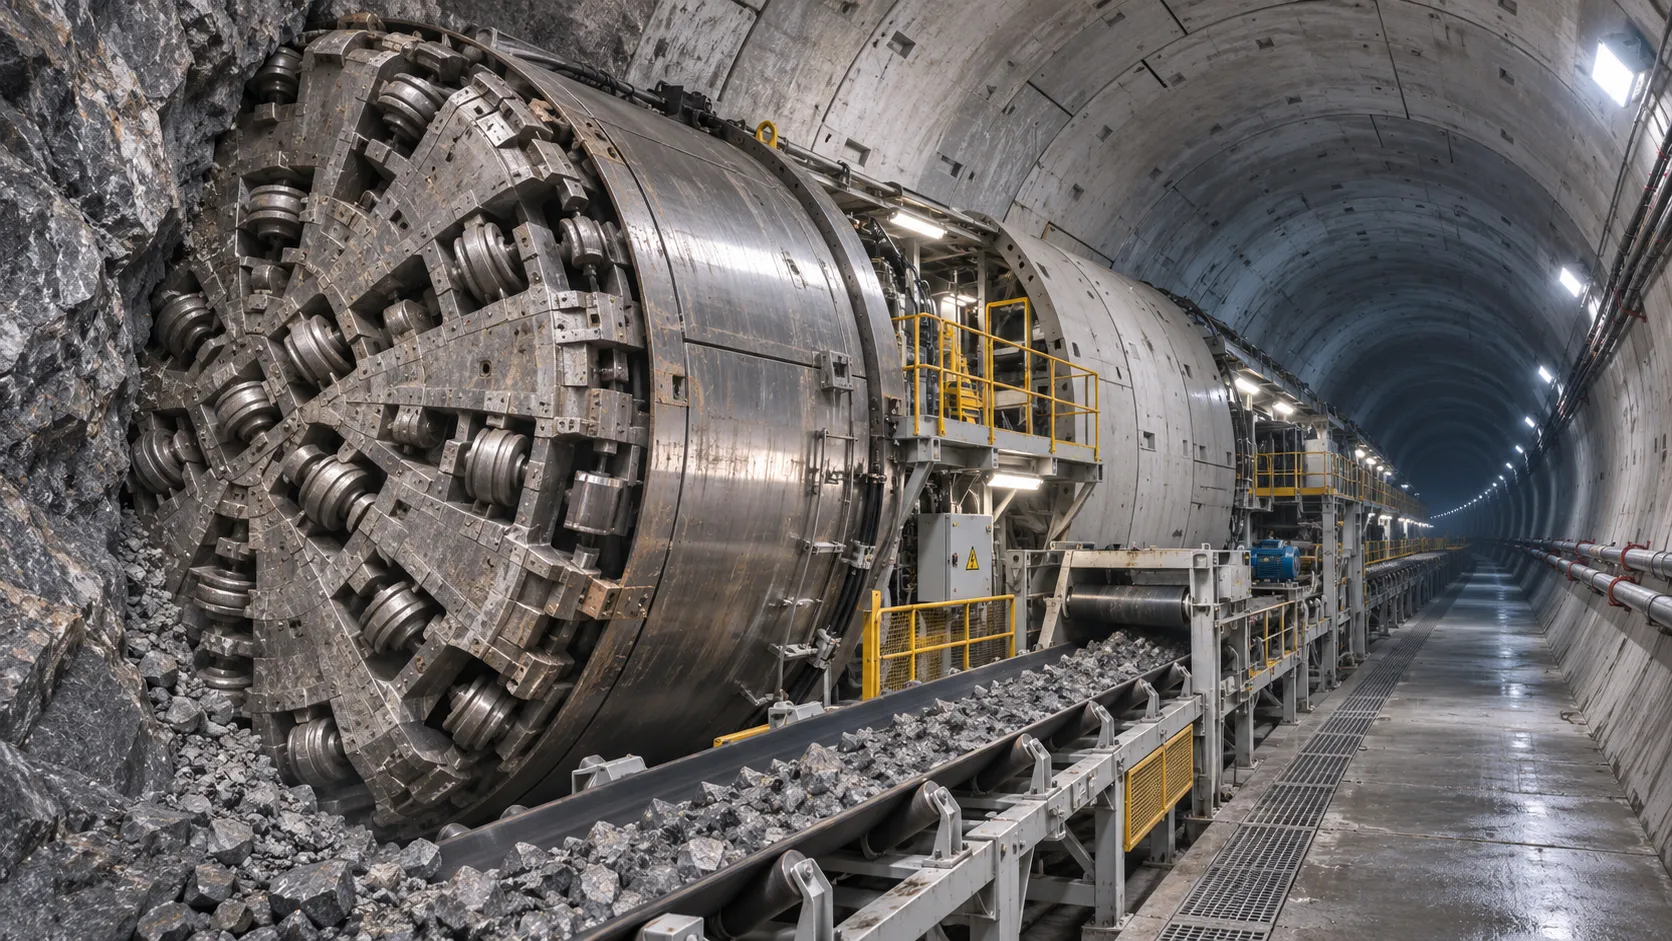
How TBM Excavation Works in Rock and Soft Ground: A Practical Guide
TBM Excavation in rock and soft ground explained: compare machine types, ground support, spoil removal, and the factors that guide smarter project planning.
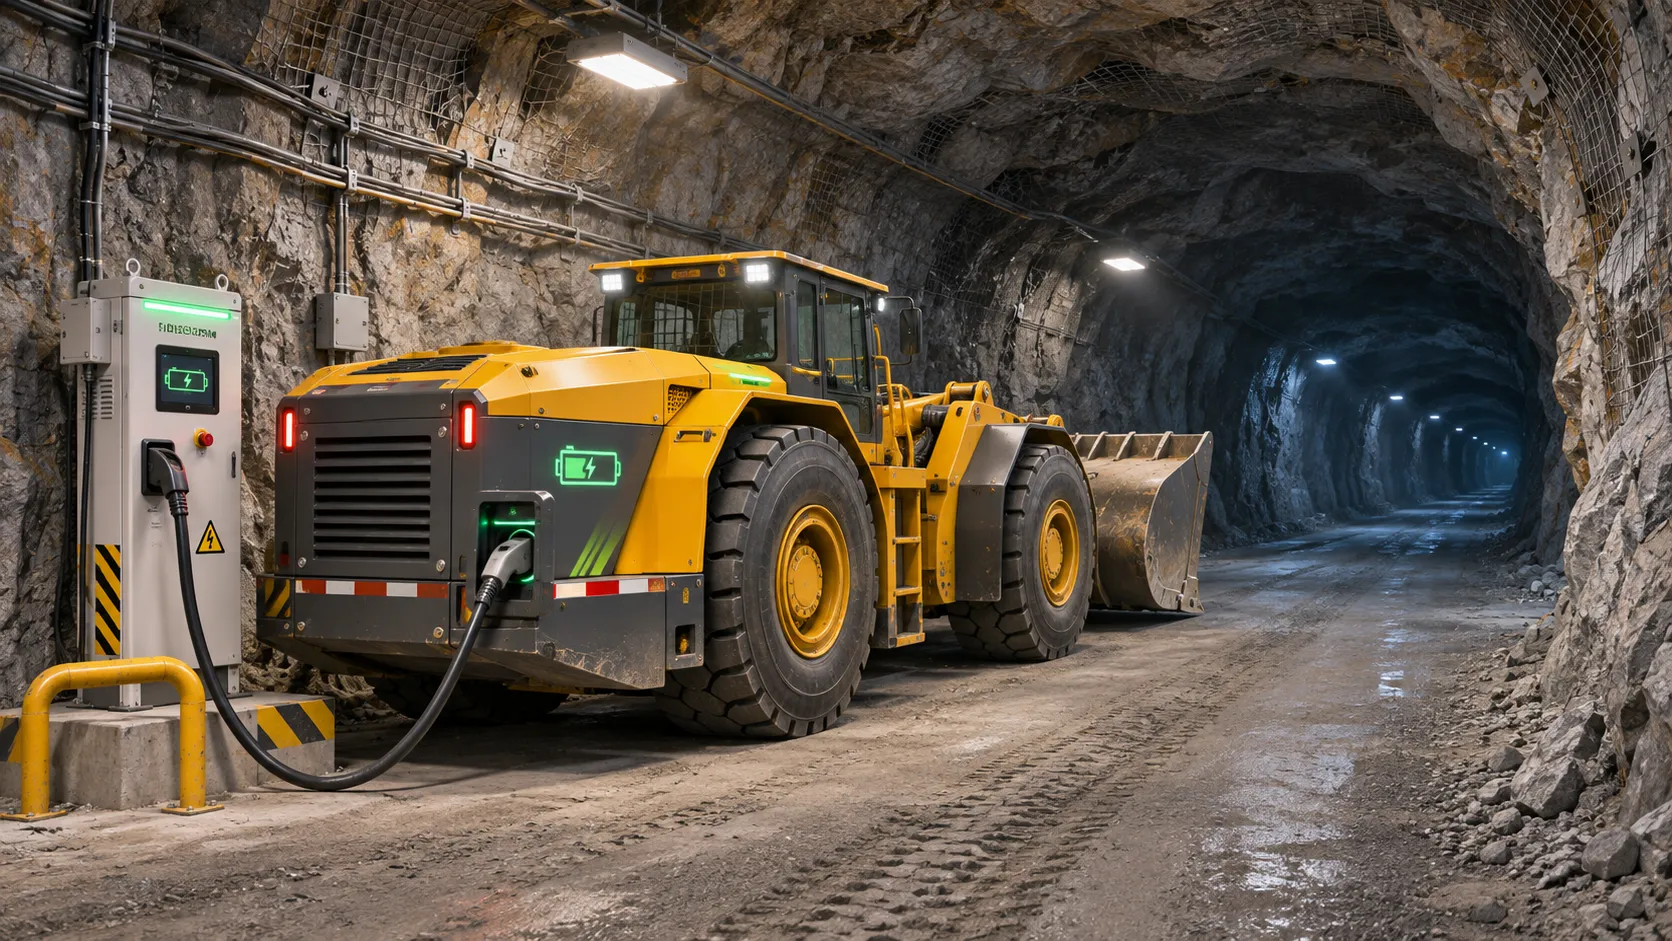
Choosing a Zero-Emission Underground Equipment Supplier: What to Check
Choosing a zero emission underground equipment supplier? Compare duty-cycle performance, charging, safety, total costs and support before you commit.

Construction Starts on Germany's Pfaffensteig Rail Tunnel, With Two TBMs Planned
Pfaffensteig rail tunnel construction is underway in Germany. Discover how two planned TBMs will support the 11-kilometre project near Stuttgart.
How Real-Time Underground Mapping Systems Work in Tunneling
Discover how real-time underground mapping systems guide tunneling teams, integrate sensor data, and support confident decisions with verified accuracy.
First Mechanized Tunnel Crossing Beneath the Panama Canal Completed
Panama Canal tunnel crossing: Explore the reported Metro Line 3 milestone and what it could mean for future underwater tunneling projects.
Underground Utility Construction Equipment: Choosing by Ground Conditions
Choose underground utility construction equipment with confidence. Compare trenching, HDD, microtunnelling and TBMs by ground conditions, risk and cost.
China Sets Tunnel Boring Machine Export Controls as India Pushes Local Production
China tunnel boring machine export controls could reshape procurement as India pushes local production. Explore potential supply and project impacts.
Choosing a Trenchless Pipeline Installation Contractor: Key Qualifications
Choose a trenchless pipeline installation contractor with confidence. Learn how to assess experience, equipment, safety, costs, and project risks before you hire.
Related News
- 00
0000-00
China's TBM Export Controls Prompt Infrastructure Concerns in India - 00
0000-00
How TBM Excavation Works in Rock and Soft Ground: A Practical Guide - 00
0000-00
Choosing a Zero-Emission Underground Equipment Supplier: What to Check - 00
0000-00
Construction Starts on Germany's Pfaffensteig Rail Tunnel, With Two TBMs Planned - 00
0000-00
How Real-Time Underground Mapping Systems Work in Tunneling
Weekly Insights
Stay ahead with our curated technology reports delivered every Monday.